Kids playhouse
Building a custom playhouse
The kids wanted to have a playhouse but we did not have a whole lot of room for it. The ones you could buy where generally either to big, to flimsy or both - So the way was paved for building one from scracth
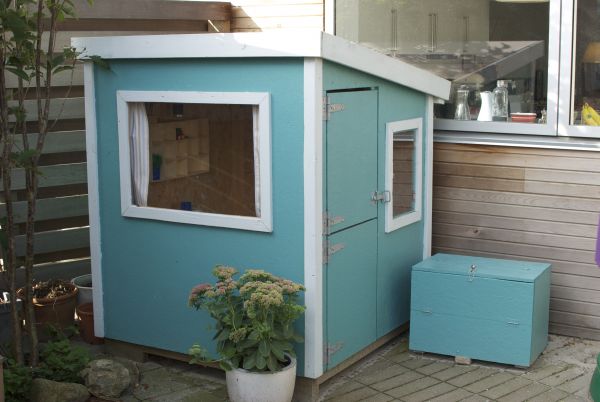
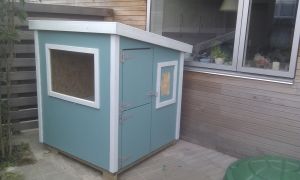
I considered many different ideas but went with this simple shack style - It's not complicated to build and as the roof slopes down towards the kitchen window it apeears slighty smaller from inside the house and lets more light in.
The playhouse size is both optimized for the available space and to maximize use of the OSB/3 boards that make up all surfaces. So it is a square which is approx. 120x120 centimeters.
Building it
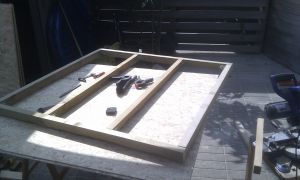
The bottom frame is made from pressure impregnated battens on top of which a piece of OSB board is mounted. In each corner a smaller piece of batten is mounted to provide some clearance from the ground and to level the bottom frame out as the ground where is stand slopes slightly away from the house to lead away water.
Frame
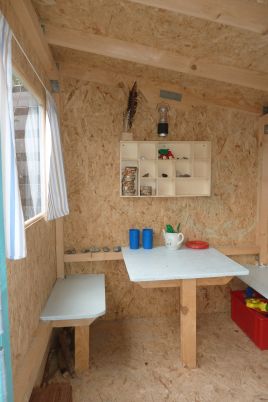
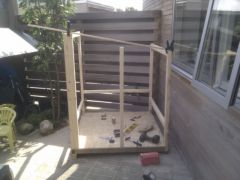
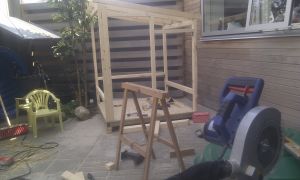
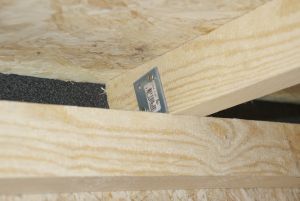
The next step is to get some corner battens up and then start to connect them with a couple of horizontal ones. I've added an extra batten in the corner where the door hinges, partly to move the door opening a bit away from the corner but altso to make it more sturdy. The horizontal battens are placed fairly low in order to use them for support for benches and a table. The roof supports are mounted with angle brackets, no cuts where made into them.
Walls & roof
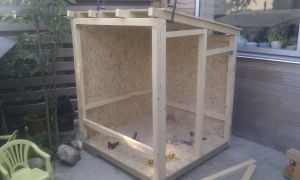
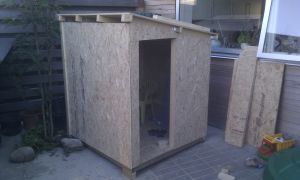
Once the frame is completed, the walls where mounted. I cut the windows out, using a jigsaw, after mounting the walls - that way the OSB board stays in one piece and does not need extra support battens. With the walls in place the next item is mounting the roof. As the roof it eventually covered in roofing felt i could use 2-3 pieces of OSB to make up the roof.
Windows
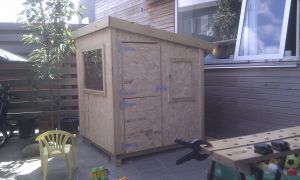
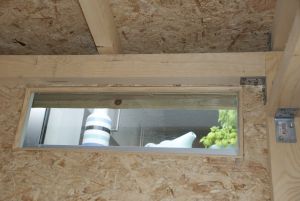
The window frames where made by cutting up some board lengthwise. - On the big window it is slightly smaller than the hole, so the acrylic glass is held in place against it with a small wodden fillet on the inside. The small window is hinged and opens outwards. On the this window the frame is large than the hole, letting the window rest against the wall when closed. Its held closed with a small neodym magnet embedded in the wall. I had some acrylic leftover so there is an even smaller window in the back, the lets you peek in from inside the kitchen and vice versa.
Door
Part of the large window cutout was reused for one half of the door. I opted for a split door as the kids just have a lot of fun with that. As you can see from the pictures it is by no means a tight fit. This is done to prevent fingers getting caught and squezed to a pulp - they can still get caught, but there is no permanent damage.
Finishing touches
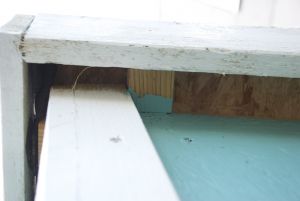
In order to hide and protect the ends of the OSB board which did not meetup entierly and also had tounge and groove, I made some angleprofiles buy cutting up boards and glueing/screwing them together.
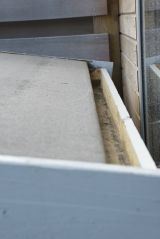
Because the roof slopes towards our house I wanted to add a gutter to move rainwater away from the house. I considered using some plastic gutter, but found it to expensive and somewhat to big. So I constructed one from two pieces of board, for the sides, and a batten(as I i did not have a slim enough board), which slopes towards the hole, for the bottom. I caulked it with silicone to seal it.The water runs out through some plastic pipe and ends near a tree.
To help hold the roofing felt in plane and make the whole thing look nicer I mounted a fascia board on three sides, it also partly hides the gutter.
Later I added curtians and a printer's type case. And finally some leftover OSB board became a box for storing outside toys.
Details
Ressources
Plans:
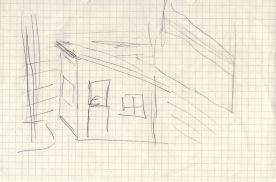
My Blueprints and sketches
Materials:
- OSB/3 board - 15 mm thickness 122cm by 244cm - 3 used
- Untreated battens - 2.4 m about 8
- Pressure impregnated battens - 7-8 m.
- Pressure impregnated boards - 1.6 m - about 12
- Lots and lots of screws - really a lot and for outdoor use
- Quite a few angle brackets - I lost count but im guessing at least 50
- Paint (wood protection)
- Roofing felt
- hinges and handles
- Acrylic glass
- Glue(for outdoor use)
- Silicone caulk
- Plastic pipe - about 2 meters and one 90 degree angle piece
- Misc.
Tools used:
- Miter/chop saw
- Circular saw
- Accu. drill/screwdriver with assorted bits and drills
- Jigsaw and pullsaw
- Clamps
- Measuring tape and a pencil
- Level
- Square
- Misc. handtools
I've gotten lots of inspiration from Deek's Tiny house blog - relaxshacks.com also check out his fortaday blog dedicated to playhouses. On which he posted about this playhouse :)

