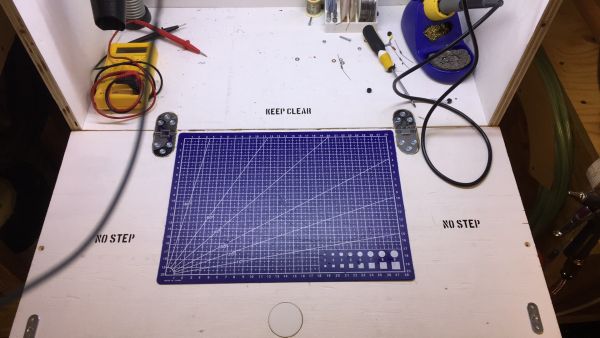
Stowable Electronics workshop
Tight on workshop space? No room for a workshop? the answer is a stowable electronics workshop! Roll it out, hook it up and your ready to make. Ready in seconds, all packed up just ats fast.
The story
I have a small workshop where I build all kind of things in many different materials. I also do electronics work there but soldering at a workbench made for woodworking is not optimal. And with space at a premium I had to get creative with storage without sacrificing the ease of use.
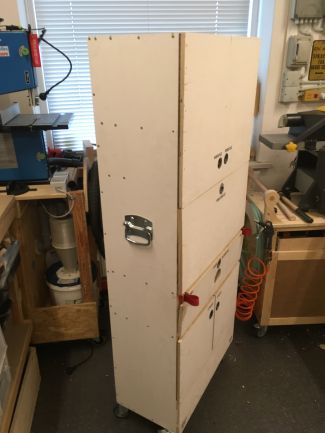
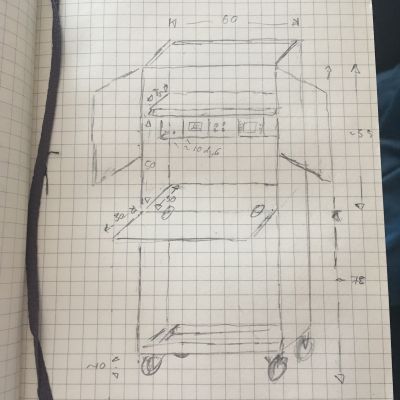 My initial idea was to make wall mounted cabinet, but by putting it on wheels I could store it sideways, thus saving space and also move it to where ever I needed in the shop.
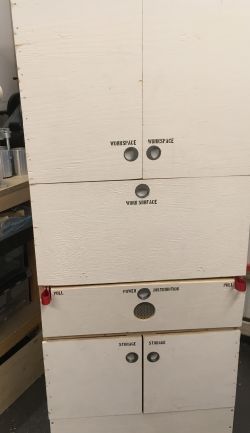
The overall design idea is a crossover between an airplane trolley and a tool cart. It was also very important that it would be fast to set up and repack – so the workshop should be ready to go as soon as it was powered and opened up.
I’m a big fan for Tom Sachs’ work, in particular his space program, so the main design aesthetic with the painted plywood is very much borrowed from him. This gives the whole a sort used and worn look that you would perhaps see on a maintenance cart on a station in the outer rim of the galaxy.
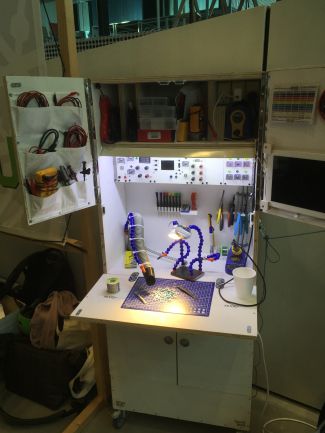
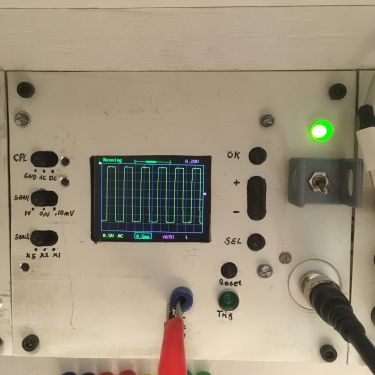
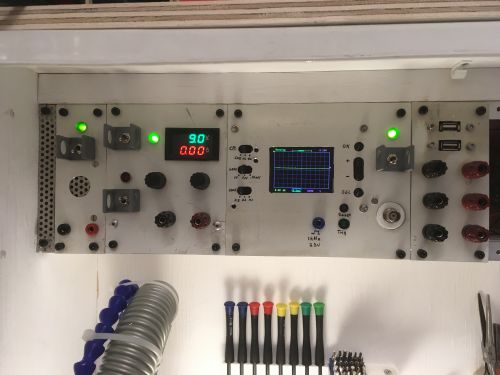
Apart from the soldering station and fume extractor(with carbon filter) the workshop also packs a variable constant current, constant voltage power supply and simple oscilloscope making it a quite capable little workshop for electronics work.
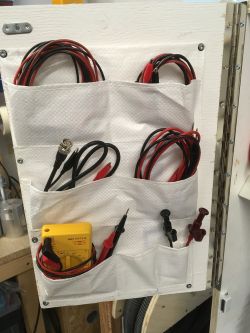
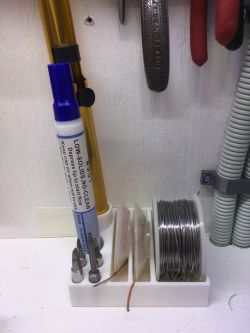
The tools that I use the most are placed in plain view and assorted parts like heat shrink have place on the upper shelf. Furthermore, there is a storage area below the power distribution that can pack quite a bit of stuff.
The workshop has been quite useful for a while now, but it’s still work in progress it has taken quite a lot longer than I initially guessed it would, particularly wiring everything up has proved somewhat more complex than anticipated
Building it
The main carcass is made from 15 mm plywood that is just screwed together. To get the Tom Sachs look, it is painted before it is cut. The paint is a non glossy white so it picked up a lot of scuff marks from being cut and assembled as intended.
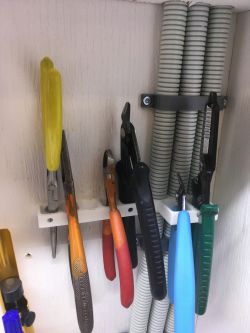
I have used quite a lot of found materials for this project, like the vacuum cleaner hose used for the fume extractor and the painted grimy aluminum used to cover the electronics. I’ve also been rummaging through the electronics graveyard and parts bins at my local makerspace, which have been a good source of parts with an ‘old’ look.
3D printing is a big part of the project. I’ve designed and printed a lot of different bits and bobs to get the look and functionality I wanted. From the tool holders to the flush mounted cupboard pulls. The most complex probably being the fume extractor. (All the designs are available for download here: https://www.thingiverse.com/Nisker/designs)
The stenciled letters are made on a vinylcutter and transferred using transfer sheet. The font is Boston Traffic.
Ressources
- 3D print designs: https://www.thingiverse.com/Nisker/designs

