Woodworking tool chest
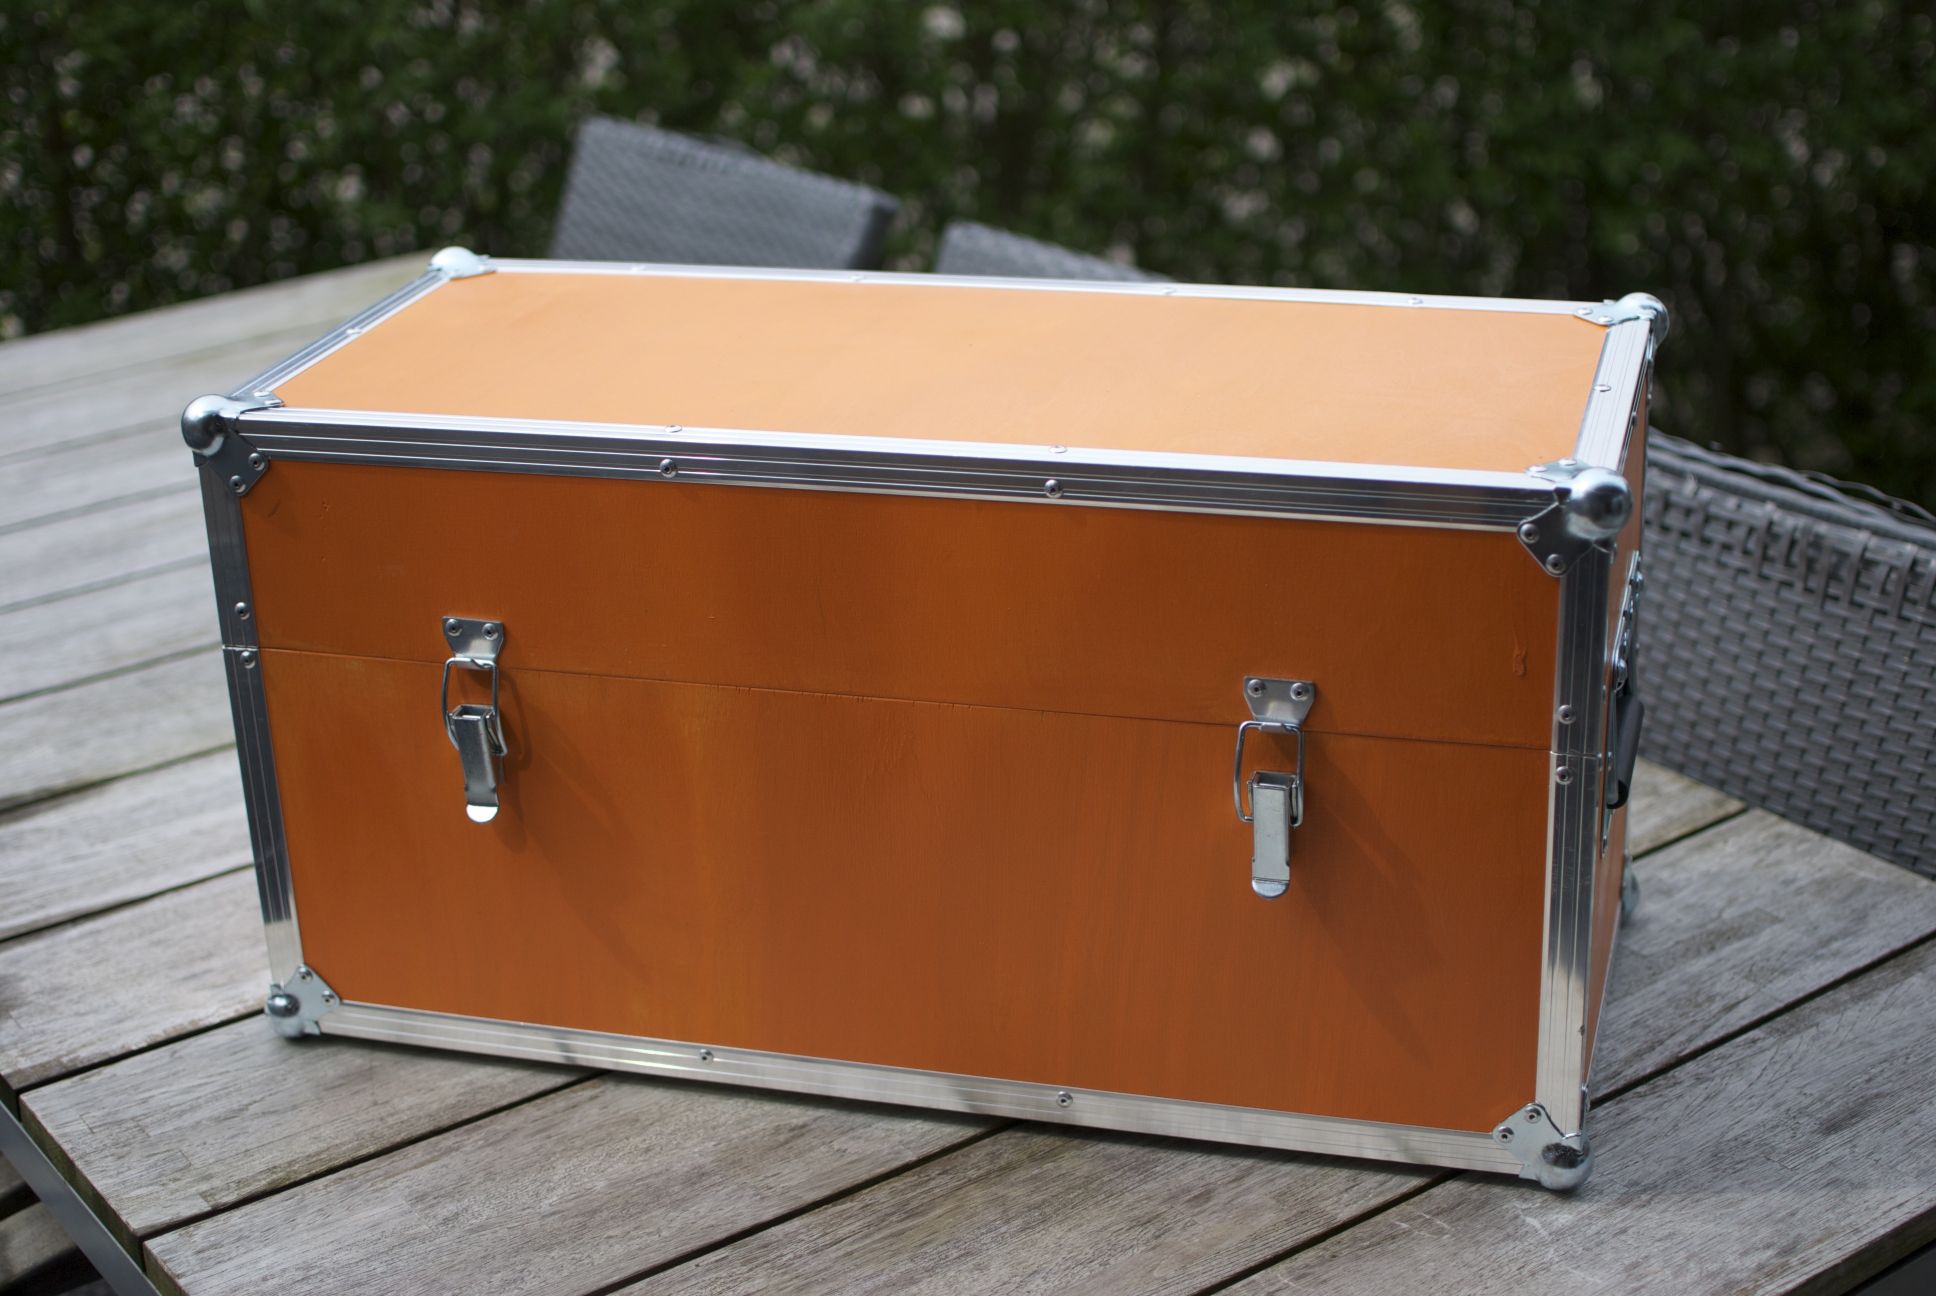
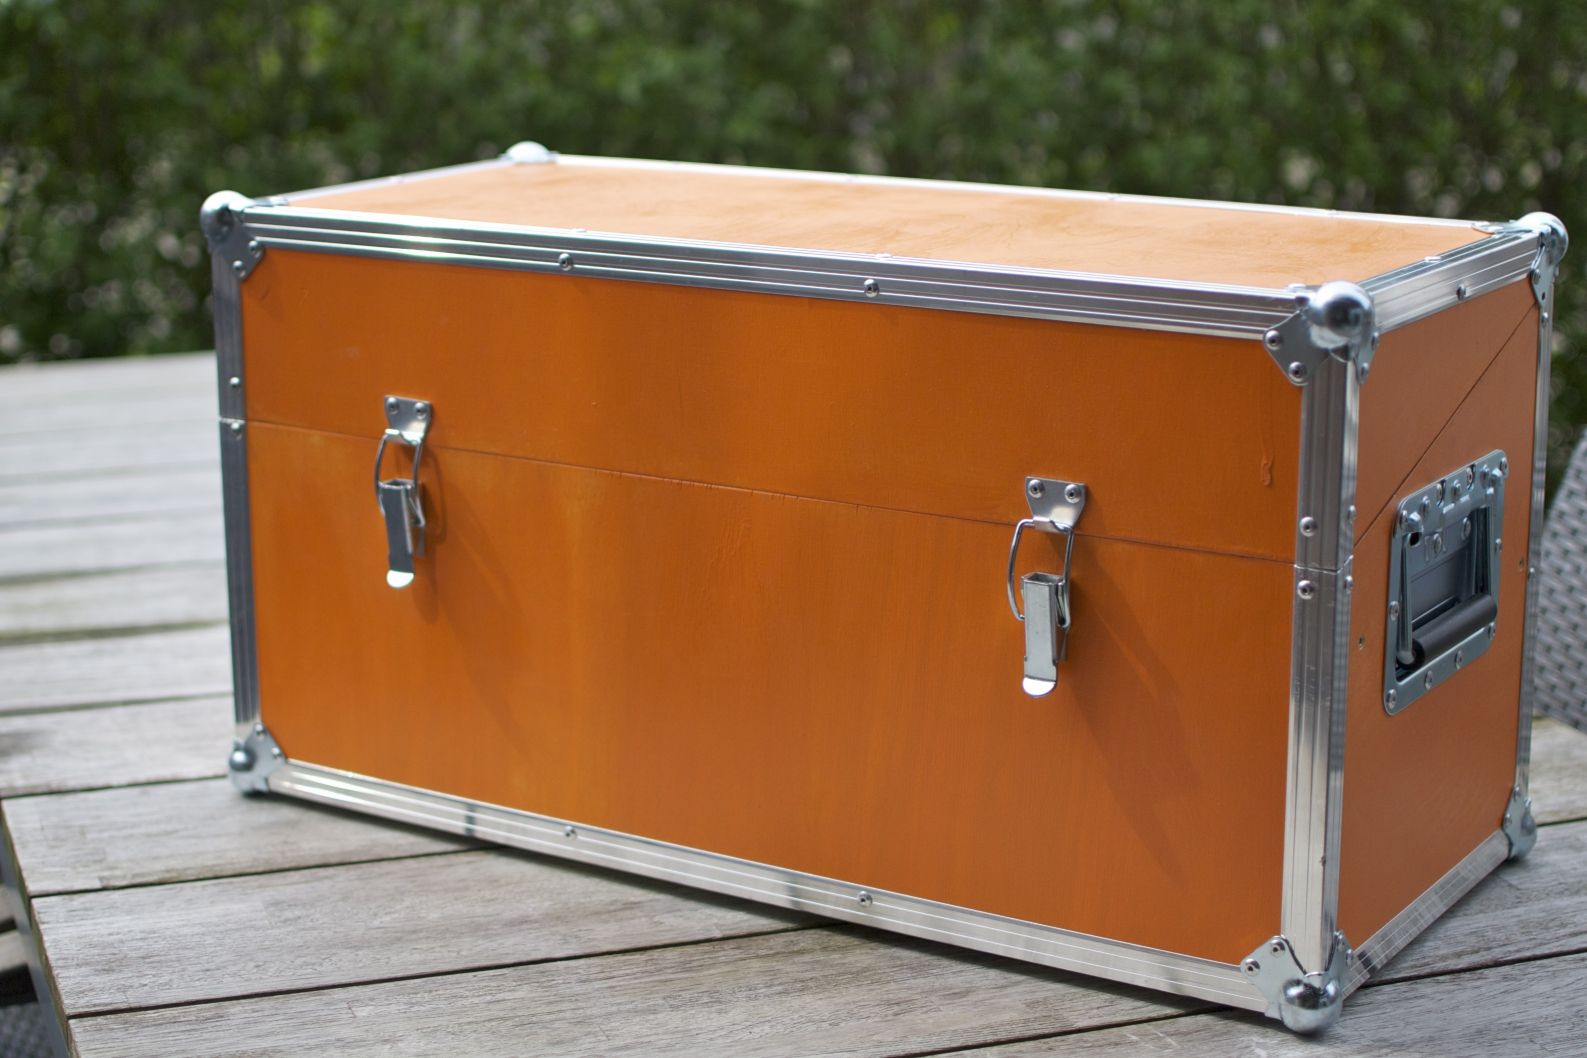
Building a toolbox for my woodwoking tools
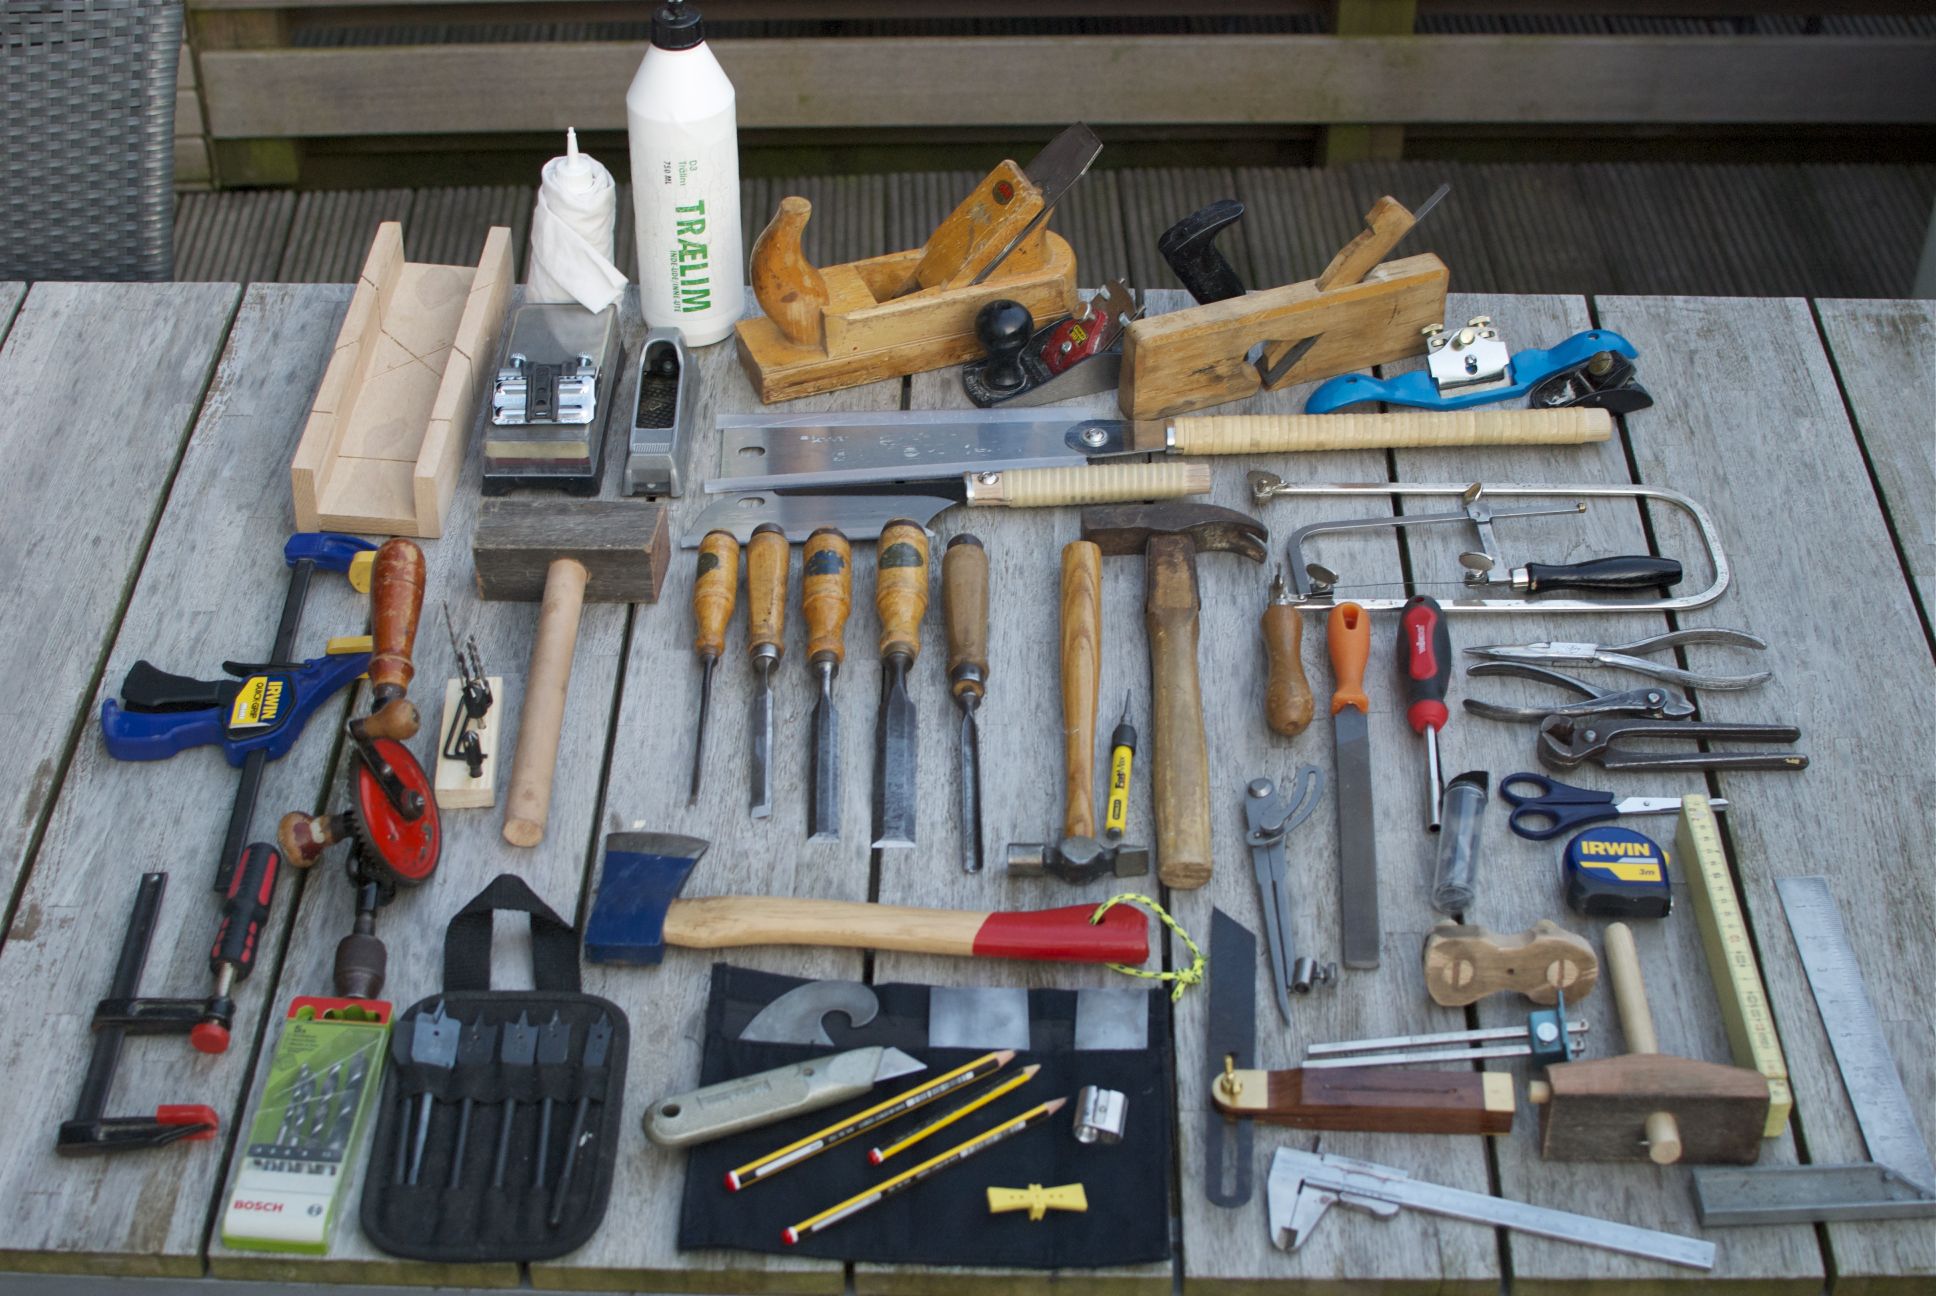
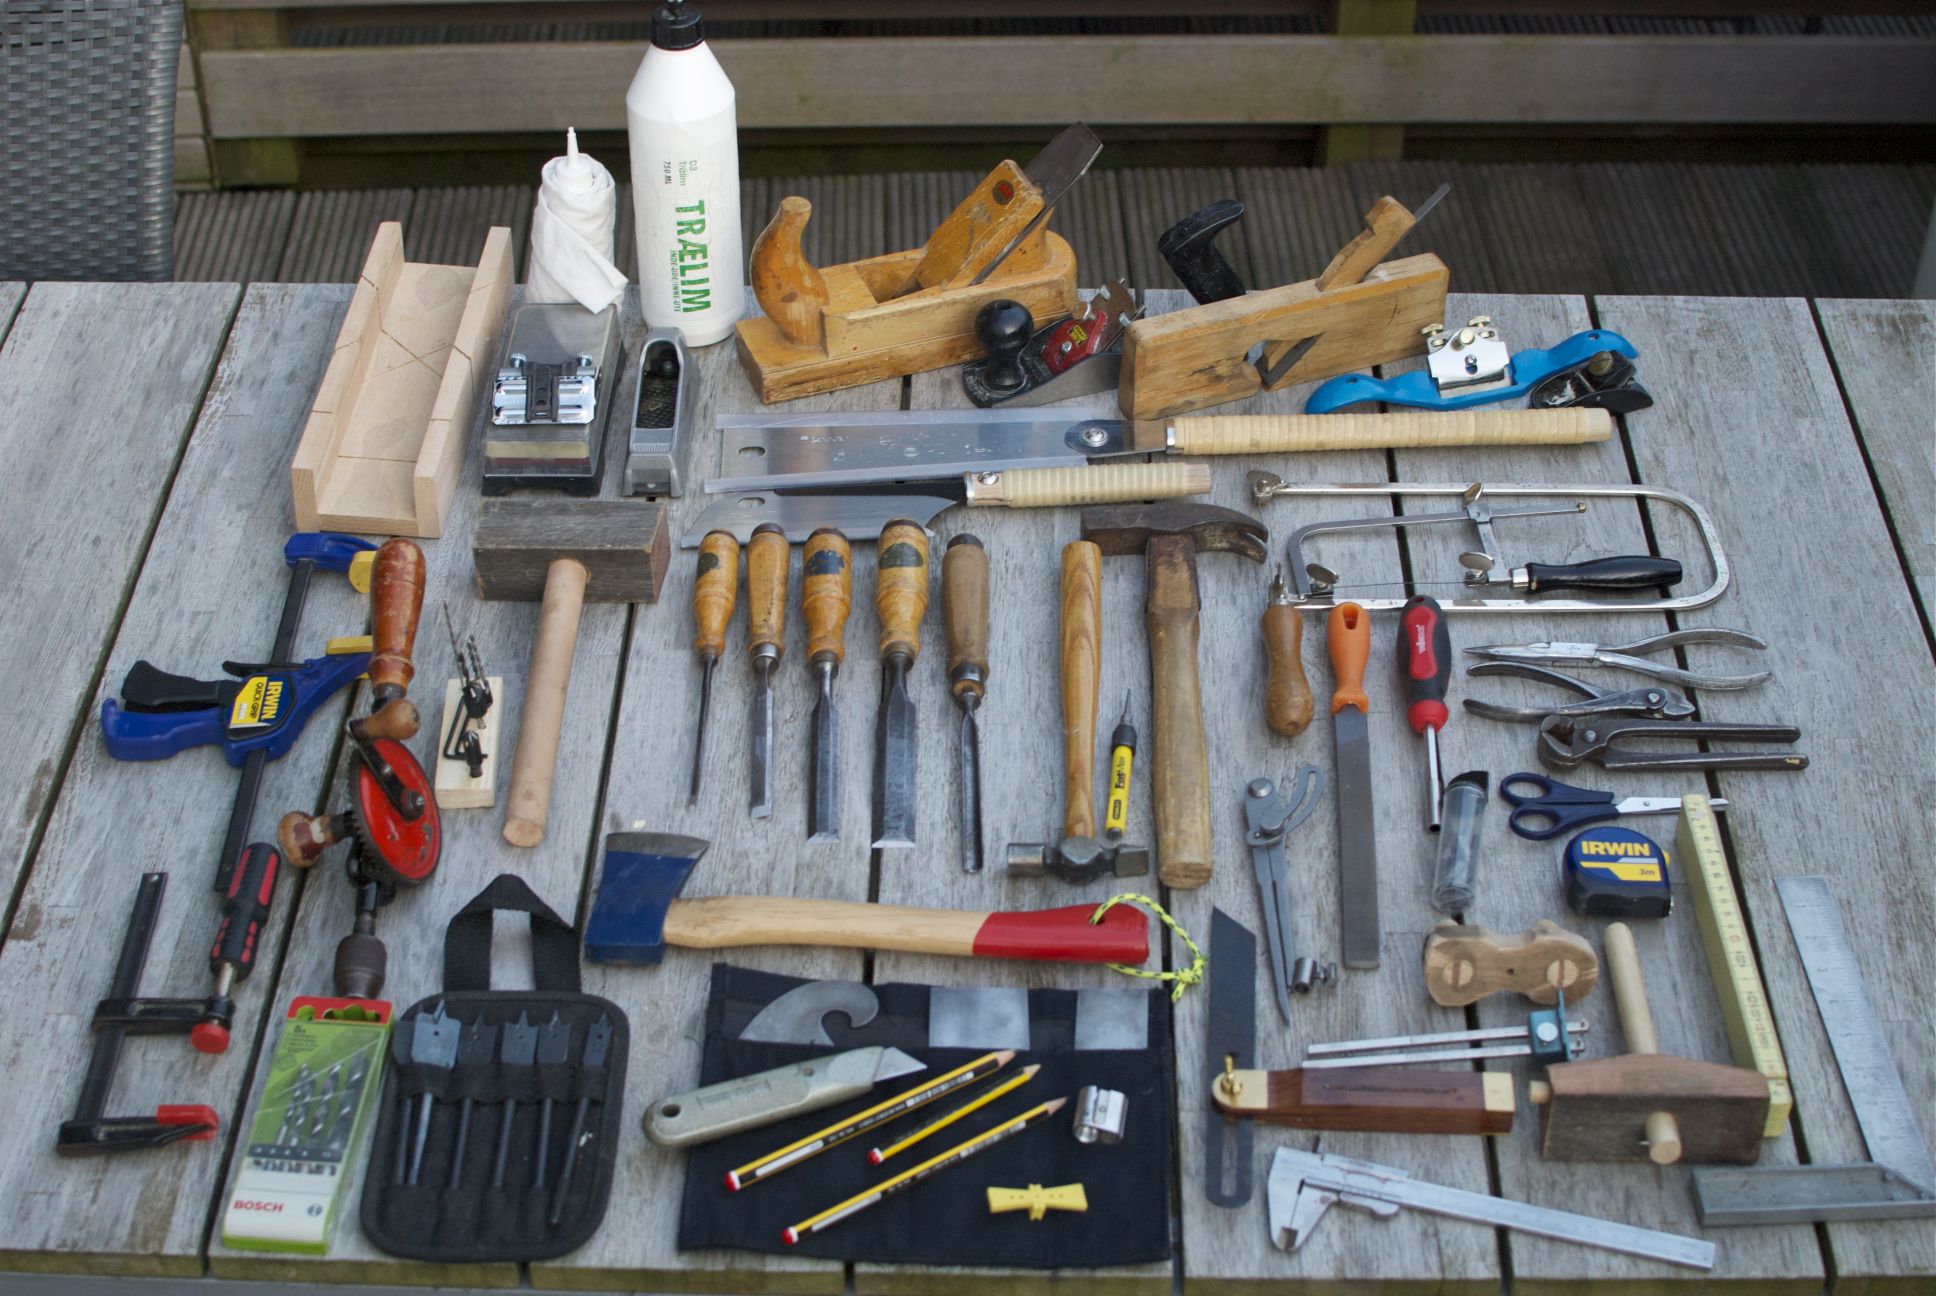
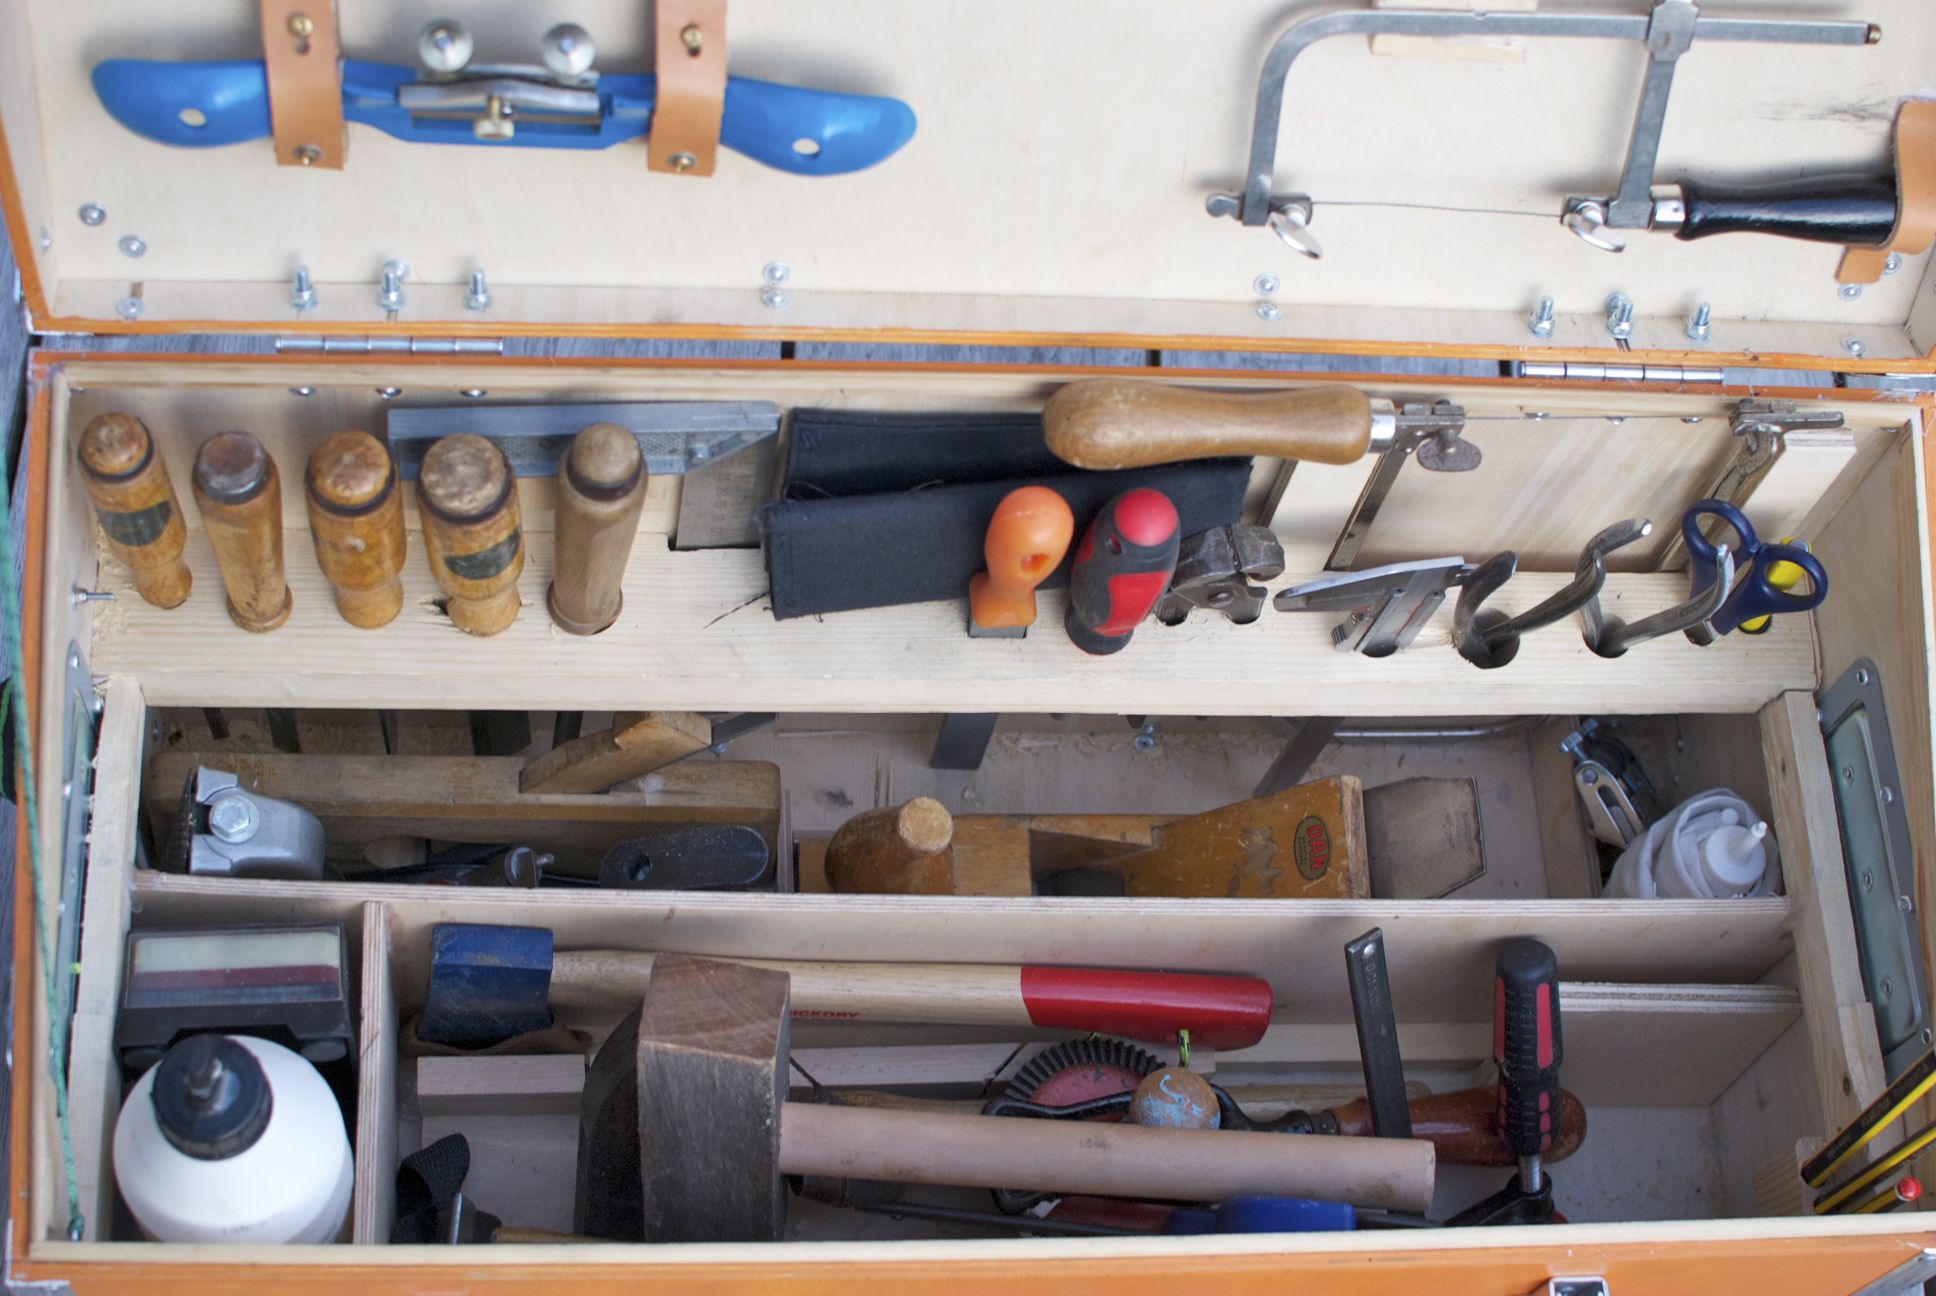
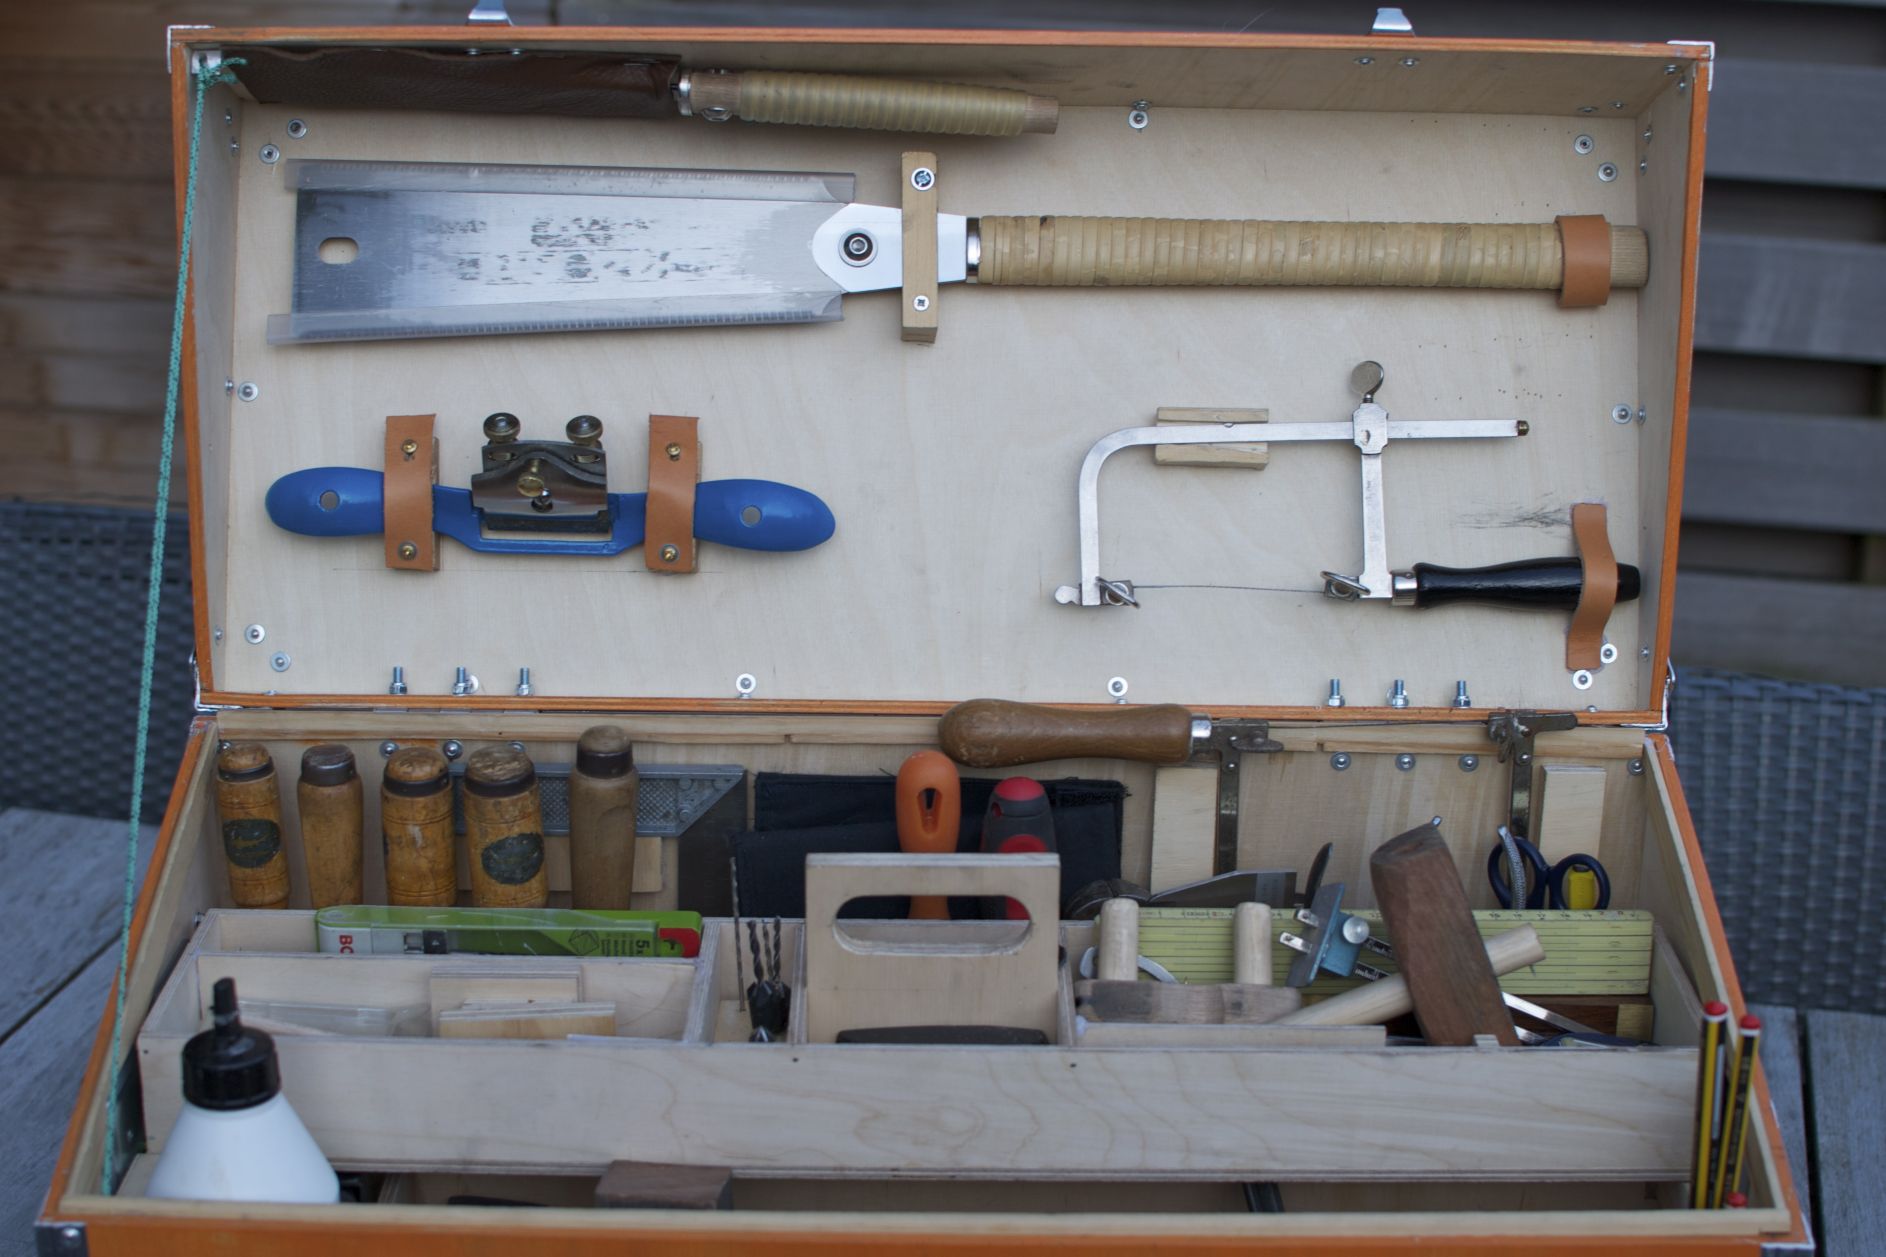
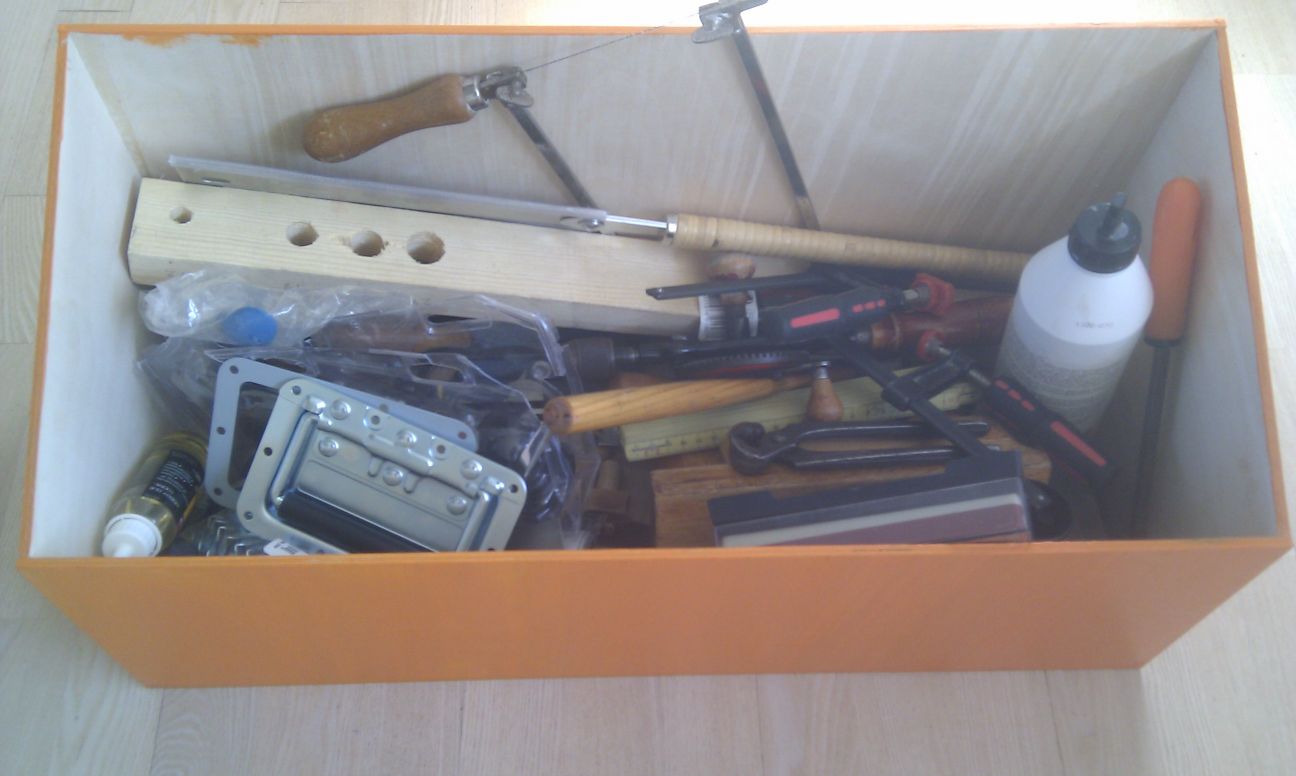
I work with a lot of different materials but have a tendency to return to wood most of the time and for some years now I've been looking for old woodworking tools at yard sales and in second hand shops. So I've ended up with a nice collection of woodworking tools but not a good place to store them.
Designing it
This is of course an opportunity to build something - but first I needed to decide what kind of a box I wanted. In the process I spent a lot overs mulling over images of tool boxes and tool chest. And while I'm fascinated with a more traditional tool chest, like Schwarz's Anarchist tool chest, it's much to big for my need and not very portable.
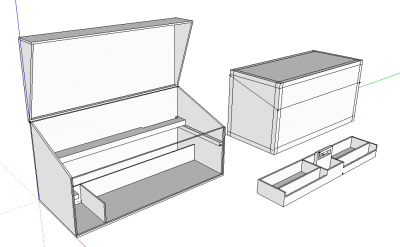
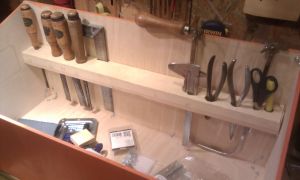
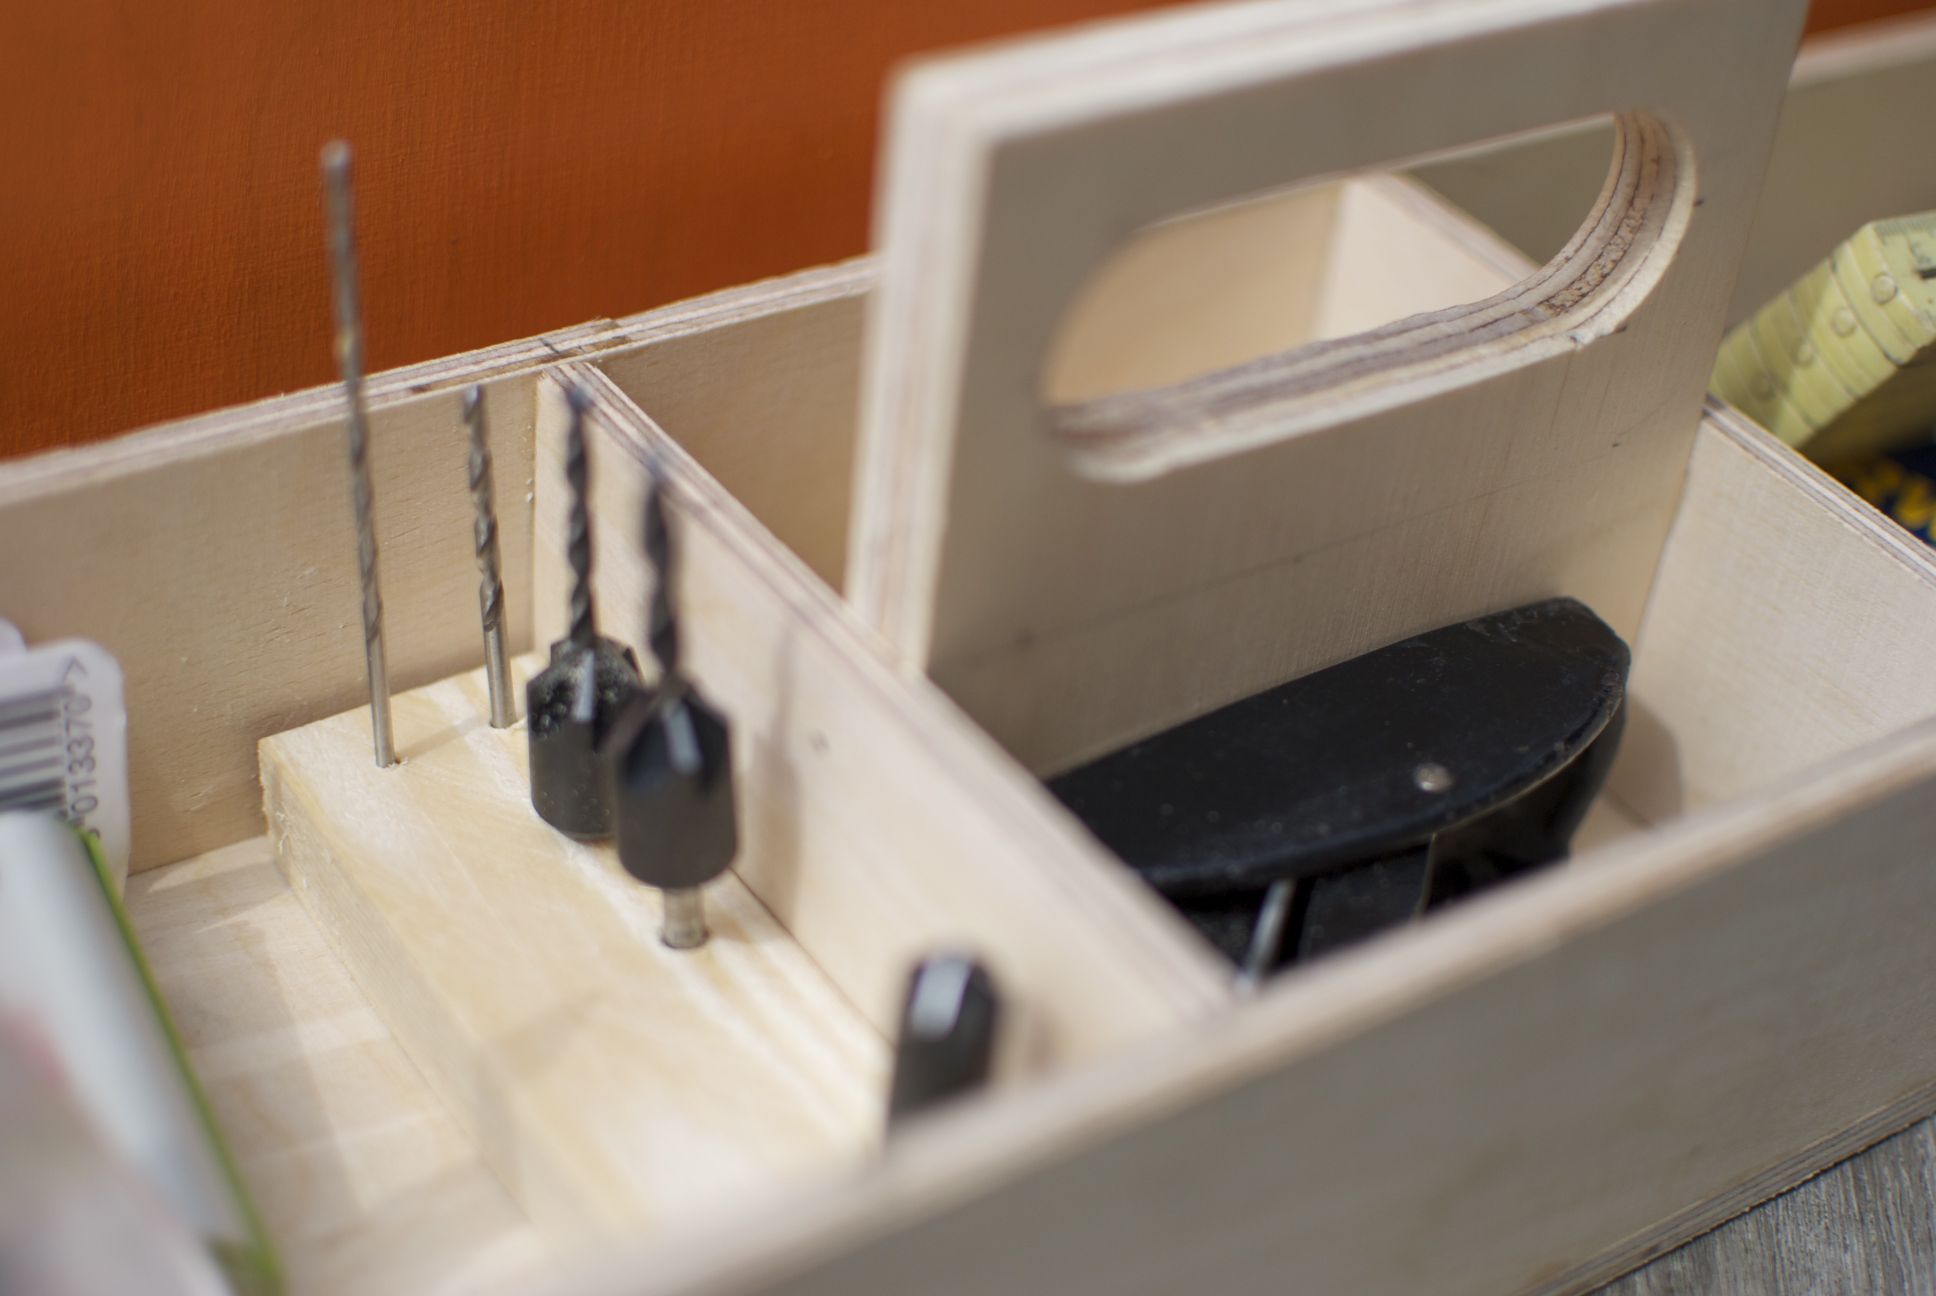
I also really like japanese toolboxes for the simplicity and the idea that the box is about storing tools and not so much a show of skills - however I think that having all the tools in one big room makes it difficult to find the tool you need. Then I came across the dutch tool chest which had both the smaller size and less complex build going for it. It was still to big for me and the slanted lid seemed space inefficient, however I really liked the access to the content that the slanted lid made possible and the toolholder in the back also resonated with me.
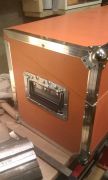
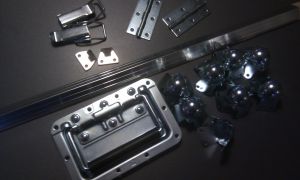
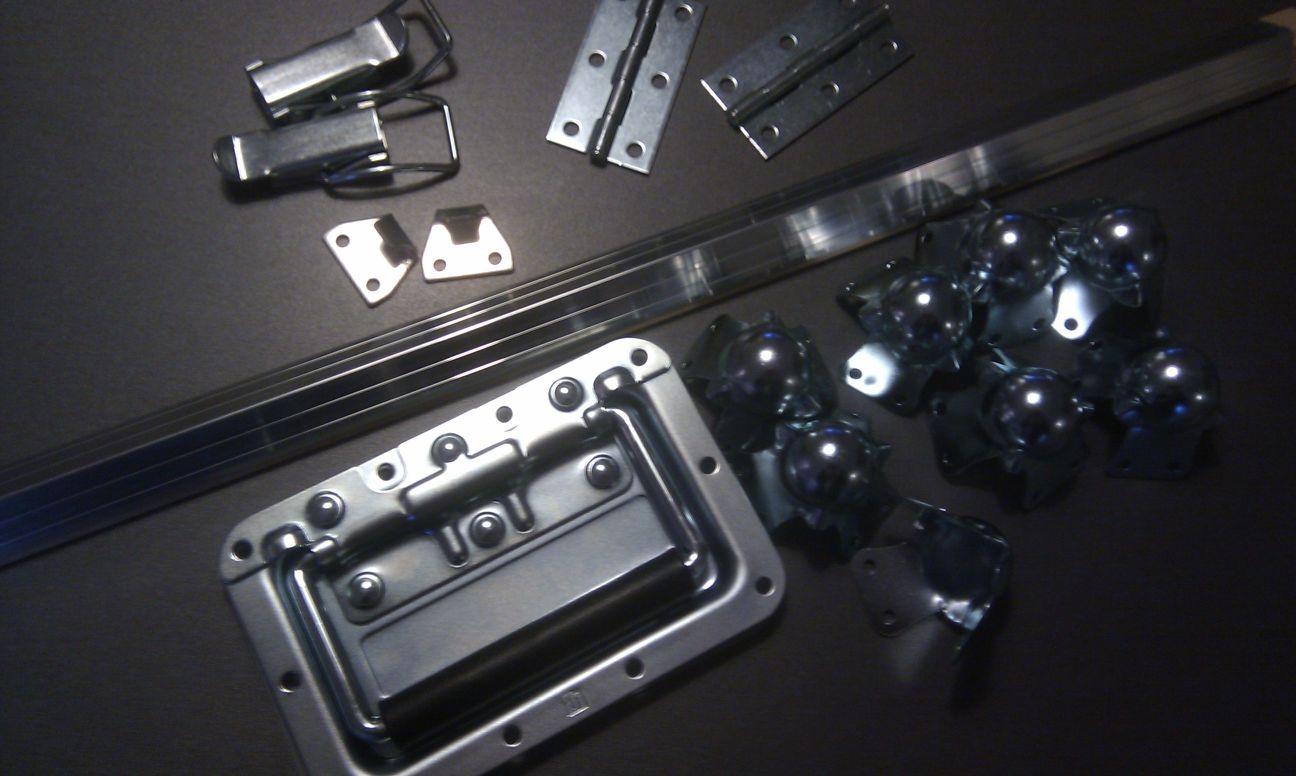
That combined with an idea to try and build something with flight case fittings became the basis of how I designed my box. I furthermore had the design criteria that the box lives in a shed that can get quite moist, so it must be able to withstand that and protect the tools inside while doing so. Having a toolbox that is easy to move around is also a high priority, I would prefer to be able to carry it with one hand.
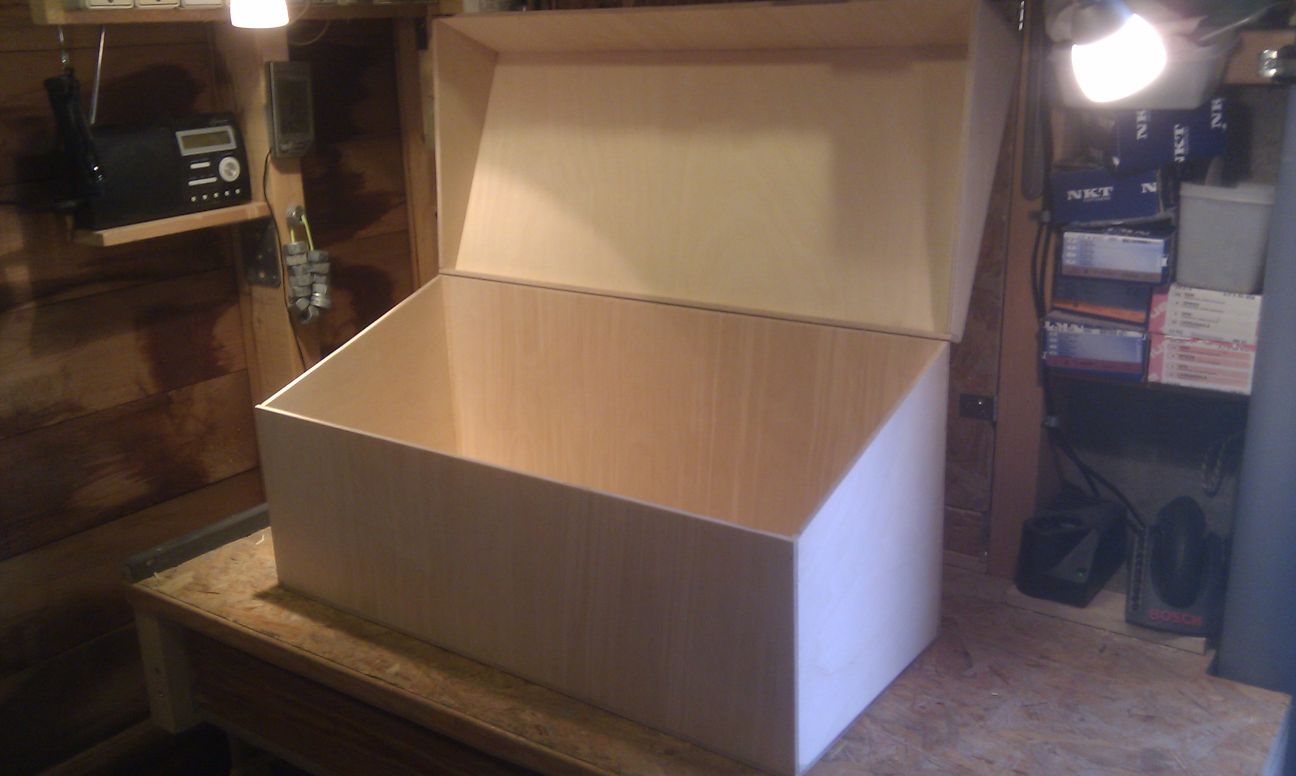
The dimensions is based around the length of my longest Ryoba saw for the width, my longest chisel set the base for the height both adjusted to the nearest power of 2 to because I'm a geek. so I end up with a width of 64 cm(25,2") and a height of 32 cm (12,6") the depth ended at 28 cm (11") as the found it more pleasing to look at if it wasn't the same as the height and my tools would fit fine at that size. I opted for 6mm birch plywood to keep the weight down.
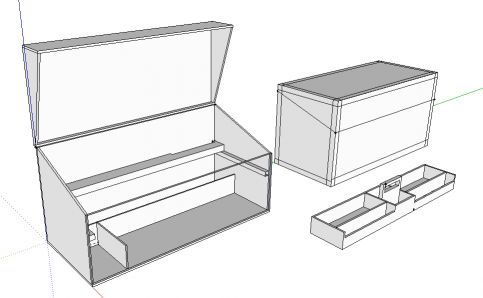
I usually just make simple sketches on paper for my projects, but in this case I used google sketchup to better be able to get an idea of the proportions of the box. And to make sure the tools wood fit I also made cardboard mockups of the the tray and compartments.
Building it
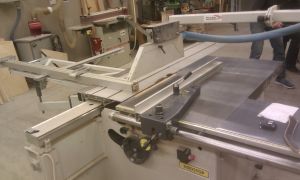
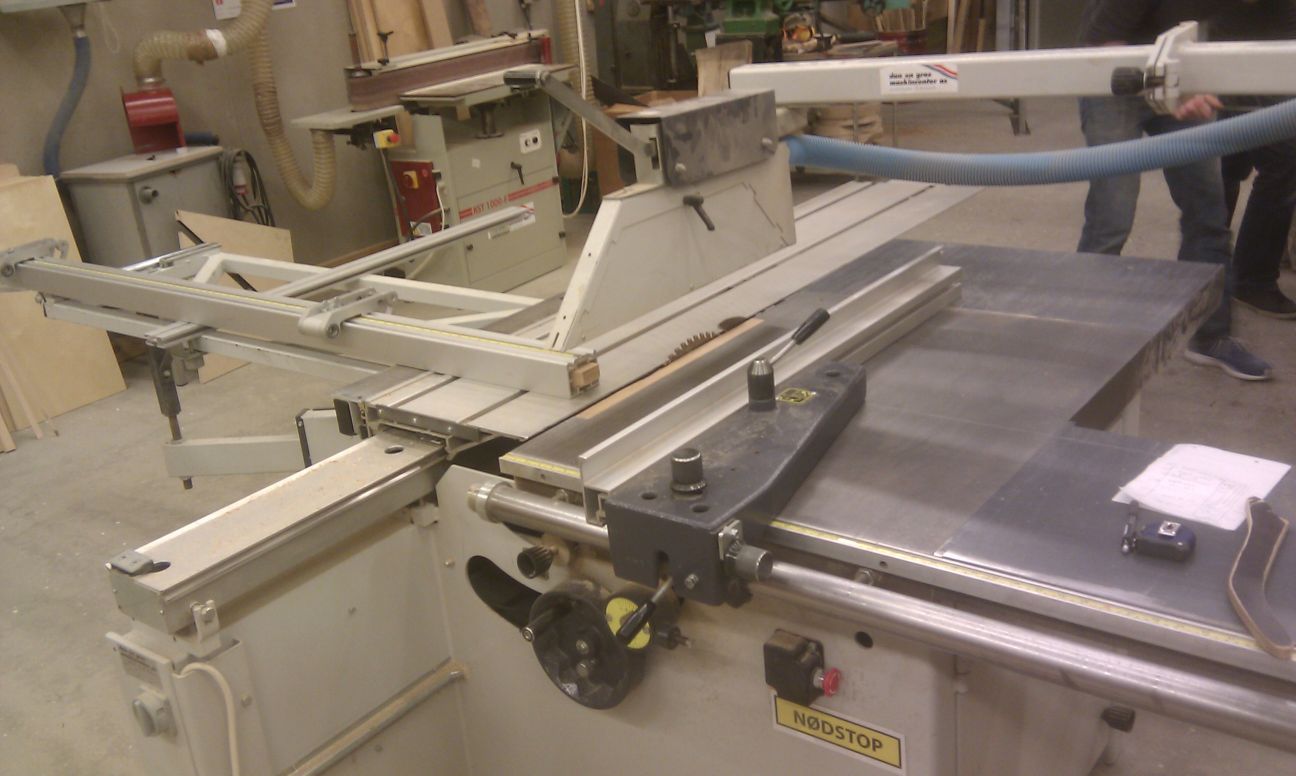
While my local makerspace(OSAA) has a table saw it's not very accurate and does not handle large sheets very well, so I took a trip down to an open wood workshop at at place called Godsbanen's and cut the 6 mm plywood on their lovely tablesaw which easily handles an entire sheet of plywood and cuts very nicely.
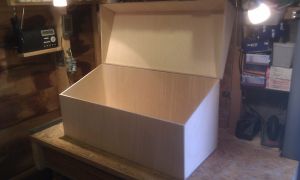
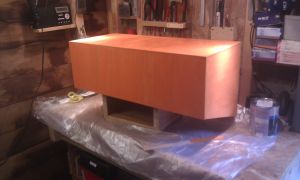
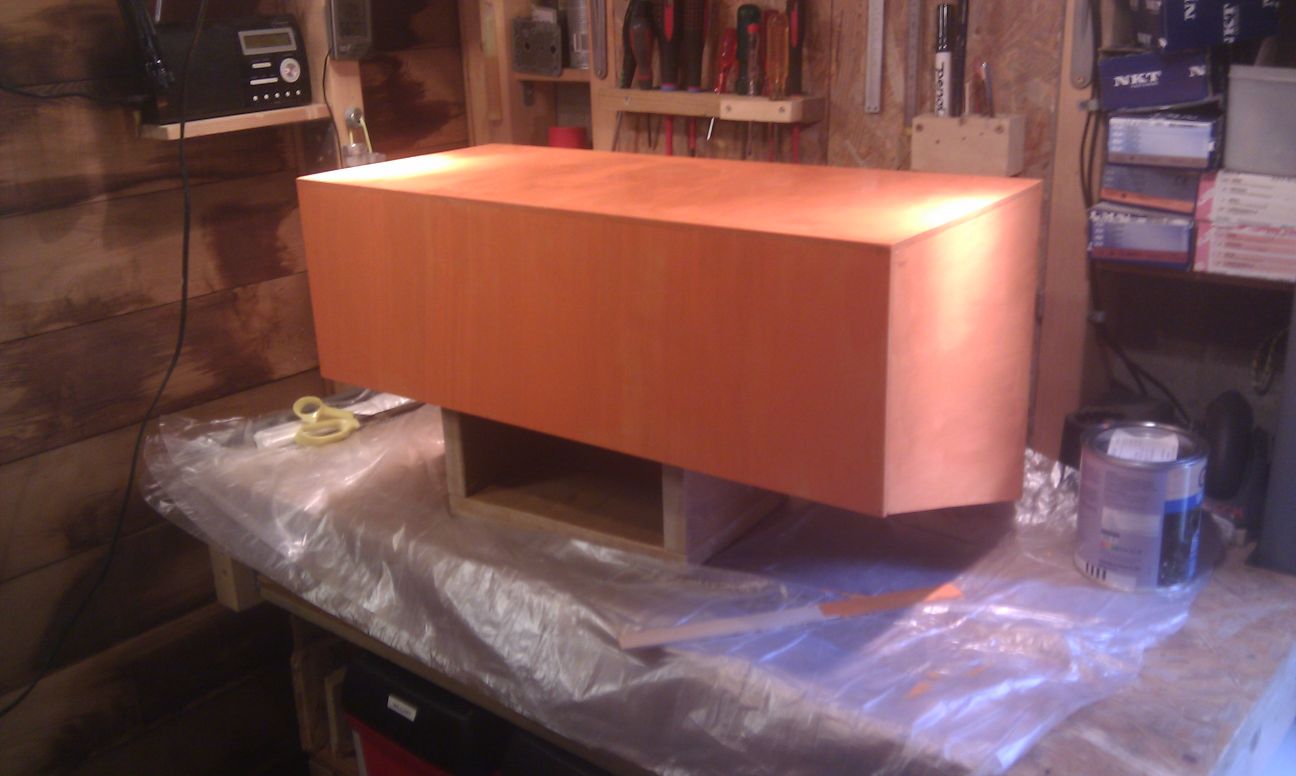
With the pieces cut I assembled them with glue and nails after which I painted the outside with coloured wood preservative. I left the inside untreated partly because I think that any treatment inside would need the box to be open for a long while to harden and offgas - but also because I expect that the untreated wood will absorb moisture inside the box and that way it will help protect the tools from rusting.
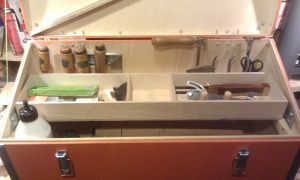
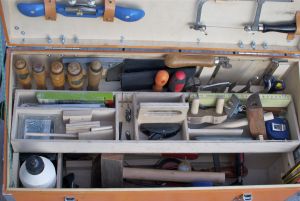
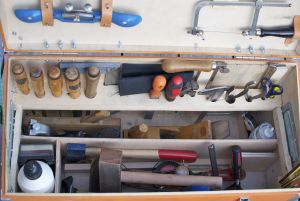
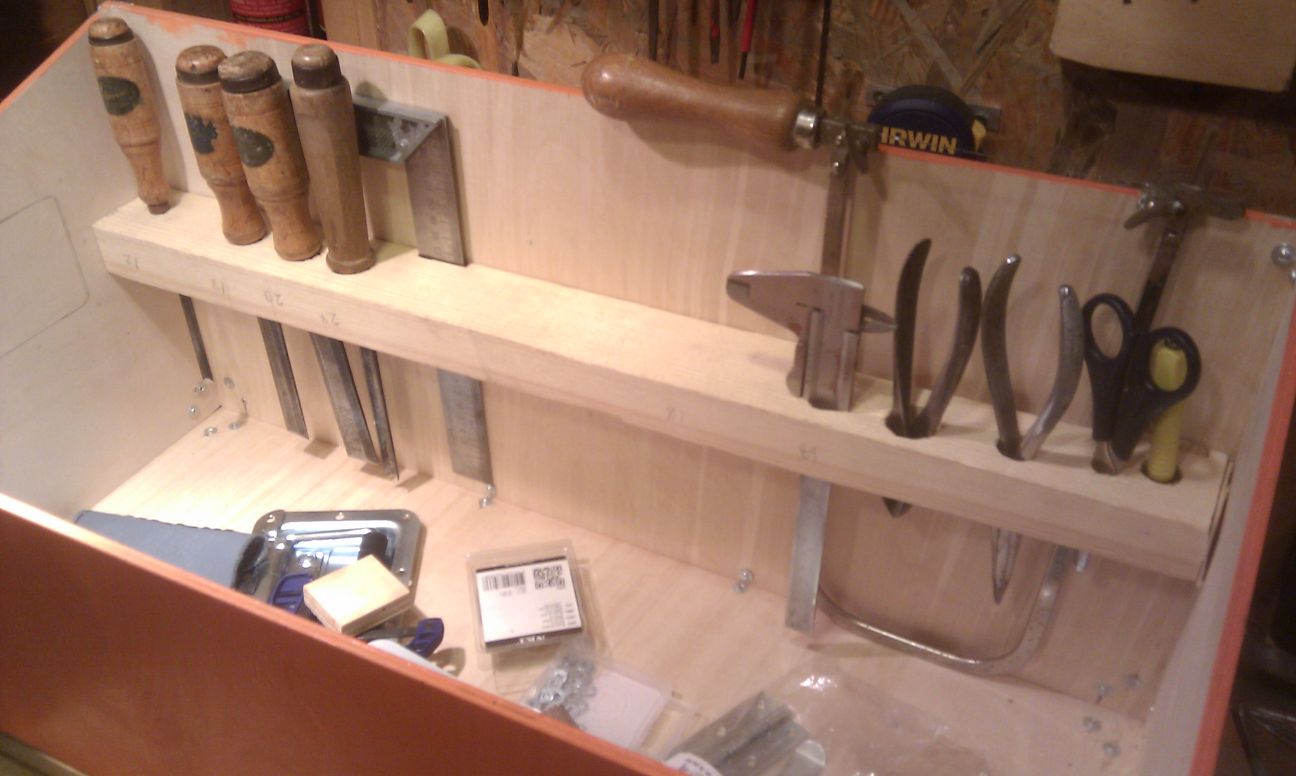
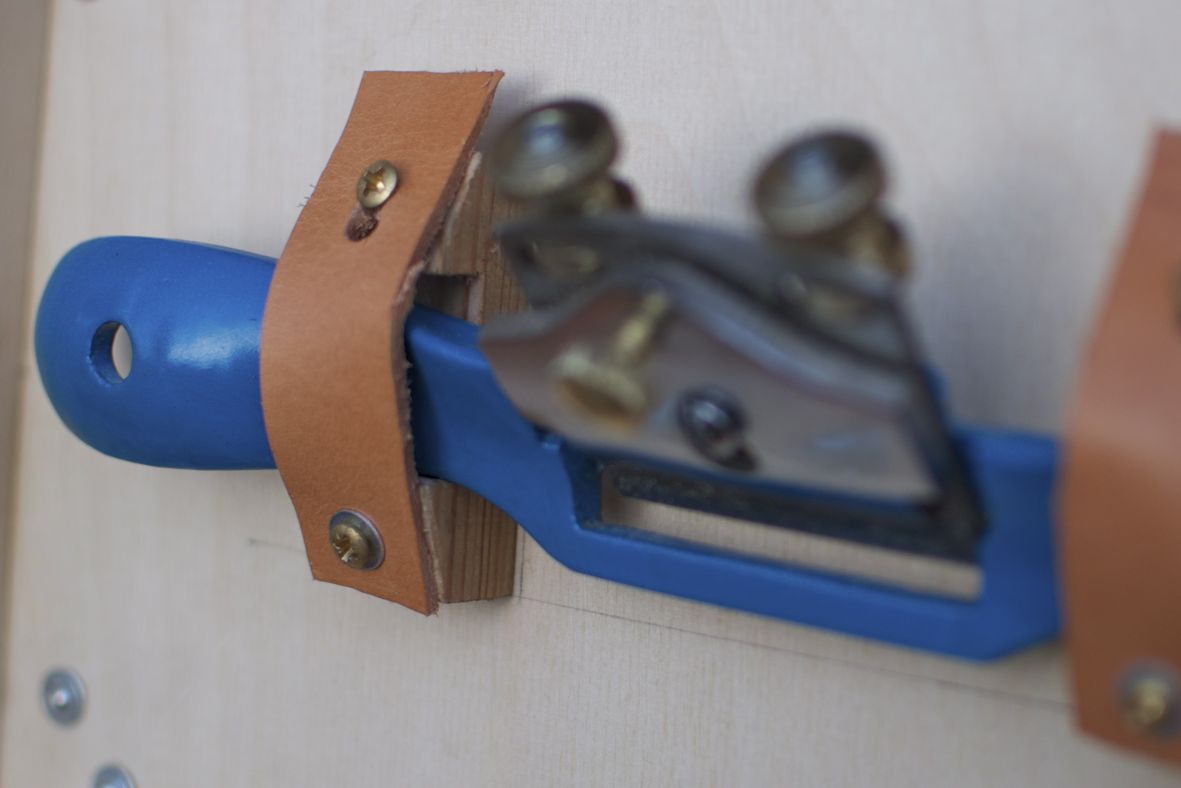
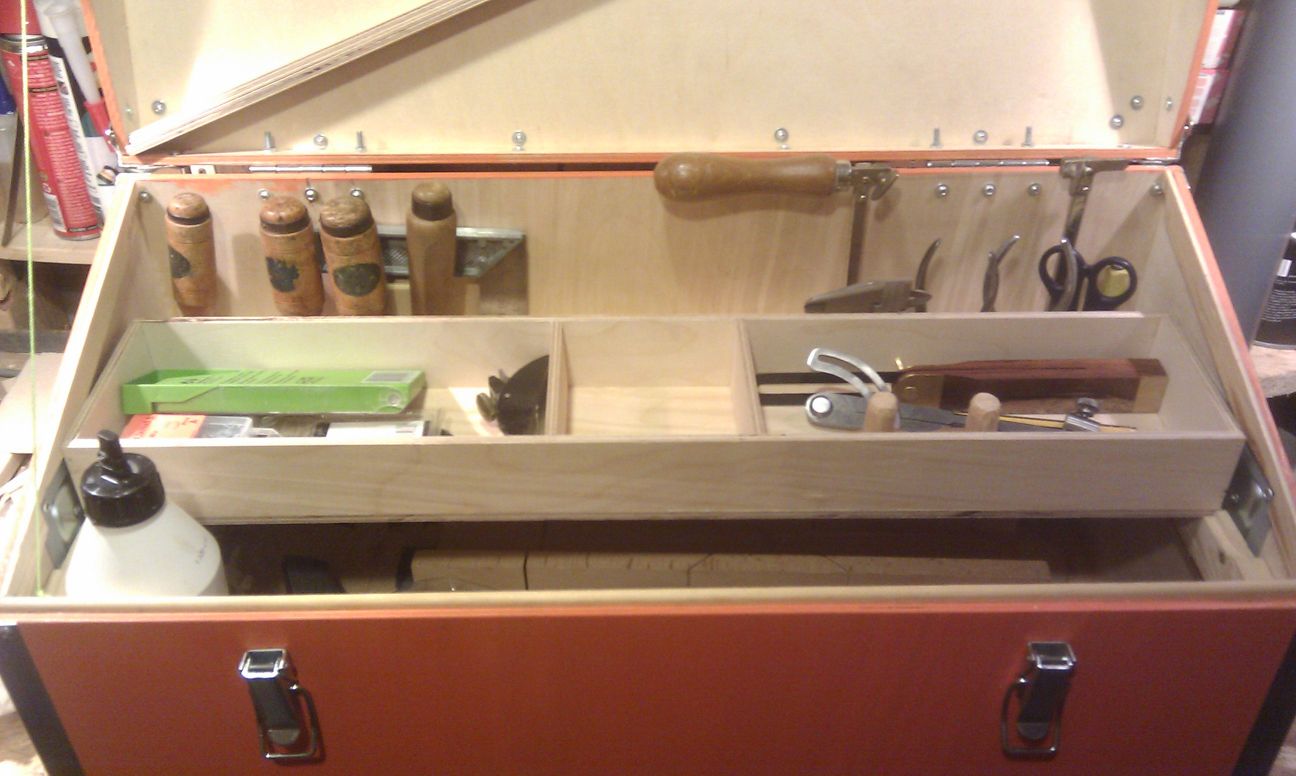
Once the paint seemed dry enough I started mounting the case angles and corners and soon realised I needed to buy more rivets and case angles which caused a short delay. With the exterior more or less in place I started outfitting the inside. I had the toolholder more or less ready as part of the prototyping process and then added the tray holder pieces when the handles were in place.
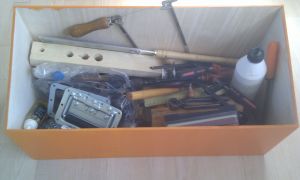
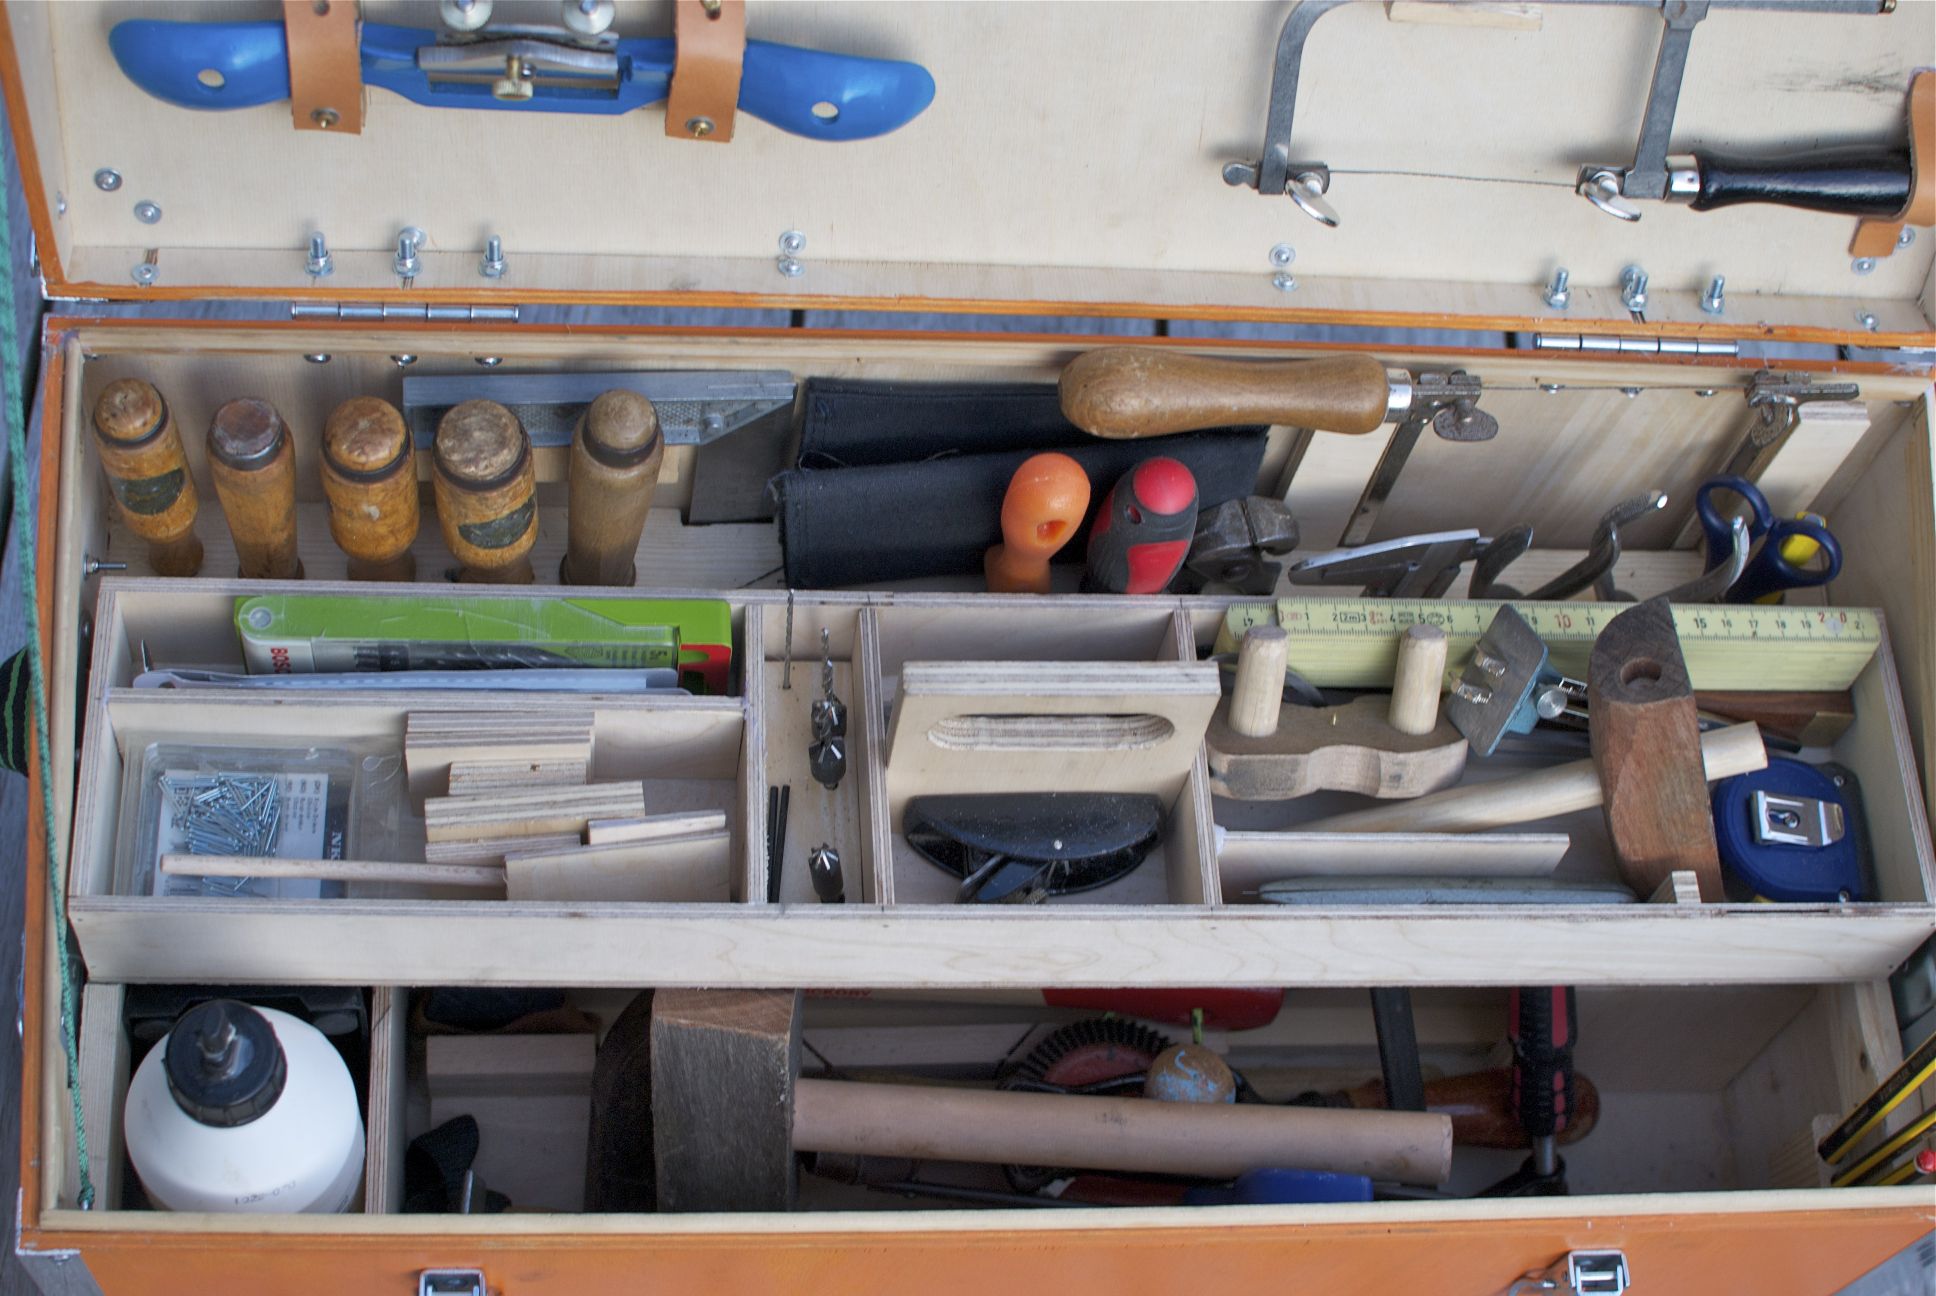
The tool compartments was made plywood and for startes it's just mounted with hot glue at least until I've tried it for a while. One side of the lid hinges is mounted with bolts rather than rivets so I can unmount it if I need to work on it.
Changes along the way
Initially I had planned to have just a single handle in the lid, like a more regular toolbox, but it weighs around 15 kg(33 lbs) with tools so I decided to mount two handles on the end instead, making it easier to lift onto a table etc.
But I still think the ability to carry it onehanded is awfully nice, so I'm making a belt of some webbing that goes around the box through the handles and lets me carry it with one hand. Its much easier to go through doors this way.
As I have no flight case hardware between the two parts of the box it flexes somewhat - the toolholder in the back and tray holders in the sides helped a lot with this. But I also added a small small strip of wood around the the top of the bottom part to help sturdy the box and make sure it closes better.
Ressources
- The Anarchist tool chest [video with Christopher Schwarz and Roy Underhill]
- The Anarchist tool chest in plywood
- Ryan's dream tool chest on lumberjocks.com
- Mafe's blog series about japanese toolboxes and tools on lumberjocks.com
- Christopher Schwarz's two dutch tool chest
- Toms workbench: my dutch tool chest
- Bill's dutch toolchest on lumberjocks.com
- Brandons: Dutch tool series on lumberjocs.com
- Sheworkswood.com - Dutch tool chest project
- Frank Klauszs first toolkit [pdf-link] - good list of tools to get you started
- High tech tool chest

